Table of contents
Adding live chat to your website used to require plugins, configuration files, and sometimes a developer. In 2026, it takes one line of JavaScript and about 2 minutes of your time. This guide covers every major platform — WordPress, Shopify, Tilda, Wix, and plain HTML — so you can start chatting with visitors today.
We'll use Svyazio as an example. It's a free live chat tool with a unified inbox for website chat, Telegram, and email. The free plan includes 1 agent and 50 conversations per month — no credit card, no time limit. But the installation process described here works similarly for any JavaScript-based chat widget.
Why your website needs live chat
Before we dive into the technical steps, let's address the obvious question: why bother? Here are three data-backed reasons.
1. Live chat increases conversions. According to Forrester Research, visitors who engage with live chat are 3–5× more likely to convert. For e-commerce stores, this means more completed orders. For SaaS companies, more trial signups. For service businesses, more booked appointments. The mechanism is simple: people have questions, and the faster you answer them, the more likely they'll take action.
2. Customers prefer chat over phone and email. A study by J.D. Power found that 42% of customers prefer live chat for customer support — more than phone (32%) or email (23%). Chat is non-intrusive (no hold music), instant (no 24-hour email wait), and convenient (customers can multitask). If your only support channels are phone and email, you're missing the majority of potential conversations.
3. Chat reduces support costs. One agent can handle 3–5 chat conversations simultaneously — compared to 1 phone call at a time. This means your team handles more inquiries without growing headcount. Saved replies (pre-written answers to common questions) make this even more efficient, reducing average handling time by 30–50%.
Universal installation — 3 steps
This method works on any website — whether it's built with HTML, React, Vue, Next.js, or any other framework. If you can add a <script> tag, this will work.
Step 1: Create a free account
Go to app.svyazio.com and sign up. The process takes 30 seconds — name, email, password, done. No credit card required. You'll land on your dashboard with an empty inbox.
Step 2: Copy your widget code
Navigate to Settings → Installation. You'll see a snippet like this:
Copy it. The orgId is your unique organization identifier — it tells the widget which inbox to connect to. You'll find it in Settings → Installation.
Step 3: Paste before </body>
Open your website's HTML and paste the snippet just before the closing </body> tag. Save the file and reload the page. The chat widget appears in the bottom-right corner — ready for conversations.
The script loads asynchronously — it doesn't block your page from rendering. Your website speed is unaffected.
WordPress installation
Method A: WPCode plugin (easiest)
Install the free WPCode (Insert Headers and Footers) plugin. Go to Code Snippets → Body. Paste the Svyazio script. Click Save. Done — no theme file editing required.
Method B: Theme file
Go to Appearance → Theme File Editor → footer.php. Paste the script before </body>. Save. Note: if you update your theme, you'll need to re-add the script. Using a child theme prevents this.
Method C: Elementor
If you use Elementor, go to Elementor → Custom Code → Footer. Paste the script. Publish. This works with Elementor Pro's custom code feature.
Svyazio uses Shadow DOM — the widget renders in an isolated container that prevents CSS conflicts with your WordPress theme, plugins, and page builders. Works with Astra, GeneratePress, Kadence, Divi, and every other theme. Full WordPress integration guide →
Shopify installation
In your Shopify Admin, go to Online Store → Themes → Actions → Edit code. Open theme.liquid. Find the closing </body> tag and paste the Svyazio script just before it. Click Save.
The chat widget now appears on every page of your store — homepage, product pages, cart, checkout, and blog. Shadow DOM isolation means zero CSS conflicts with any Shopify theme (Dawn, Debut, Brooklyn, custom themes). Full Shopify integration guide →
Tilda installation
Site-wide: Go to your Tilda project → Site Settings → More → HTML Code → Before </body> tag. Paste the code. Republish all pages.
Single page: Add a T123 HTML block (Other → HTML code) to any specific page. Paste the widget code inside. Useful if you want chat only on certain landing pages.
After pasting, click Republish — Tilda caches pages statically, so the widget won't appear until you republish. Full Tilda integration guide →
Other platforms
The same one-line-of-JavaScript approach works on:
- Wix: Dashboard → Settings → Custom Code → Body end. Paste. Publish.
- Squarespace: Settings → Advanced → Code Injection → Footer. Paste. Save.
- Webflow: Project Settings → Custom Code → Body. Paste. Publish.
- Next.js / React: Add the script tag to your
_document.tsxor usenext/scriptwithstrategy="lazyOnload". - Static HTML: Paste before
</body>in your HTML file. Deploy.
Customizing your chat widget
After installation, customize the widget from your Svyazio dashboard — no code changes needed:
- Widget color: Match your brand's primary color
- Welcome message: Set a greeting that appears when visitors open the chat
- Offline form: Collect visitor email when your team is offline
- Business hours: Show online/offline status automatically (Pro plan)
- Auto-messages: Trigger messages based on page URL, time on site, or scroll depth (Pro plan)
- White-label: Remove Svyazio branding for a fully branded experience (Pro plan)
Going multichannel: Telegram + Email
Live chat is just the beginning. Modern customers use multiple channels — and expect seamless support across all of them. Svyazio supports three channels in one inbox:
- Website chat — the widget you just installed
- Telegram — connect your Telegram bot (Pro plan, up to 10 bots)
- Email — connect support@company.com via IMAP/SMTP (Business plan, up to 10 accounts on Pro)
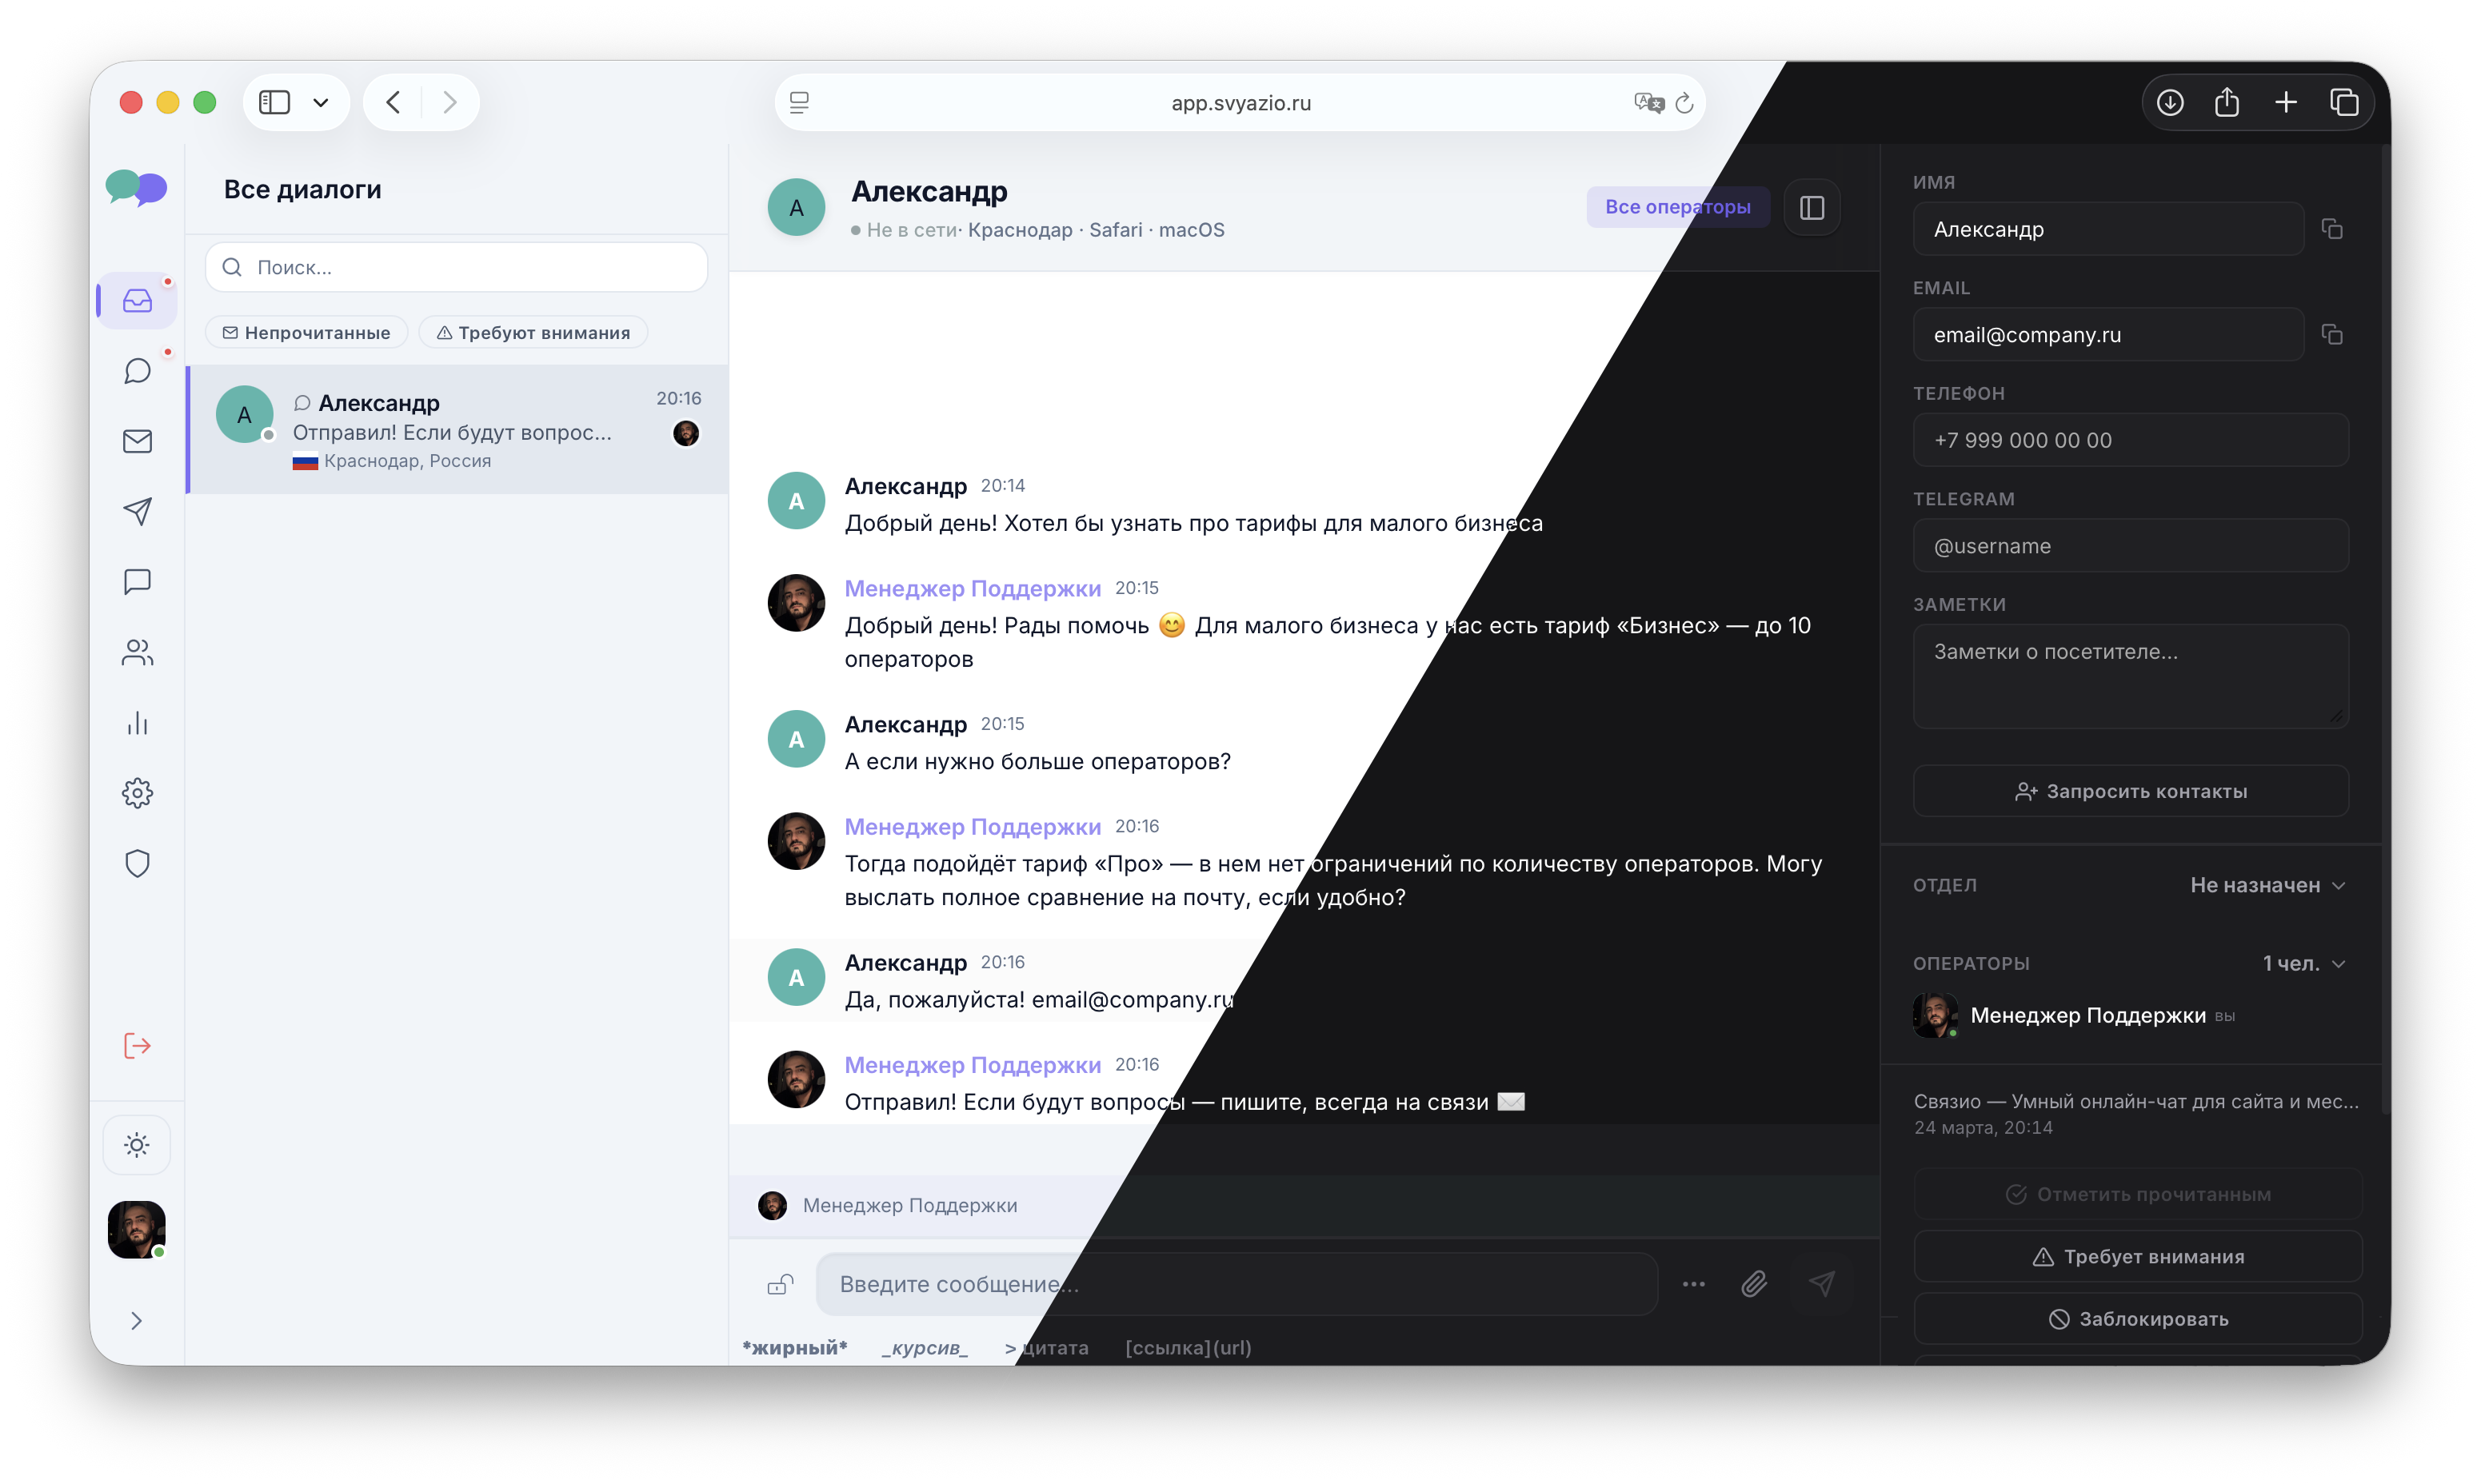
All three channels merge into a single inbox. If a customer chats on your website, later emails a follow-up, and then messages your Telegram bot — all three appear in the same conversation thread. Your agents see the complete history regardless of channel.
What to do after installation
You've installed the widget. Now make the most of it:
- Download the mobile app. Svyazio has native apps for iOS and Android with push notifications. You'll never miss a message — even when you're away from your desk.
- Create 5–10 saved replies. What are the questions you get asked most? Shipping costs, return policy, pricing, business hours? Write saved replies for these. Your agents will respond in 2 clicks instead of typing the same answer dozens of times per day.
- Set up an auto-message. On the Pro plan, you can trigger messages based on visitor behavior. Example: if someone spends 30+ seconds on a pricing page, trigger "Have a question about our plans? We're here to help!" This turns passive browsing into active conversations.
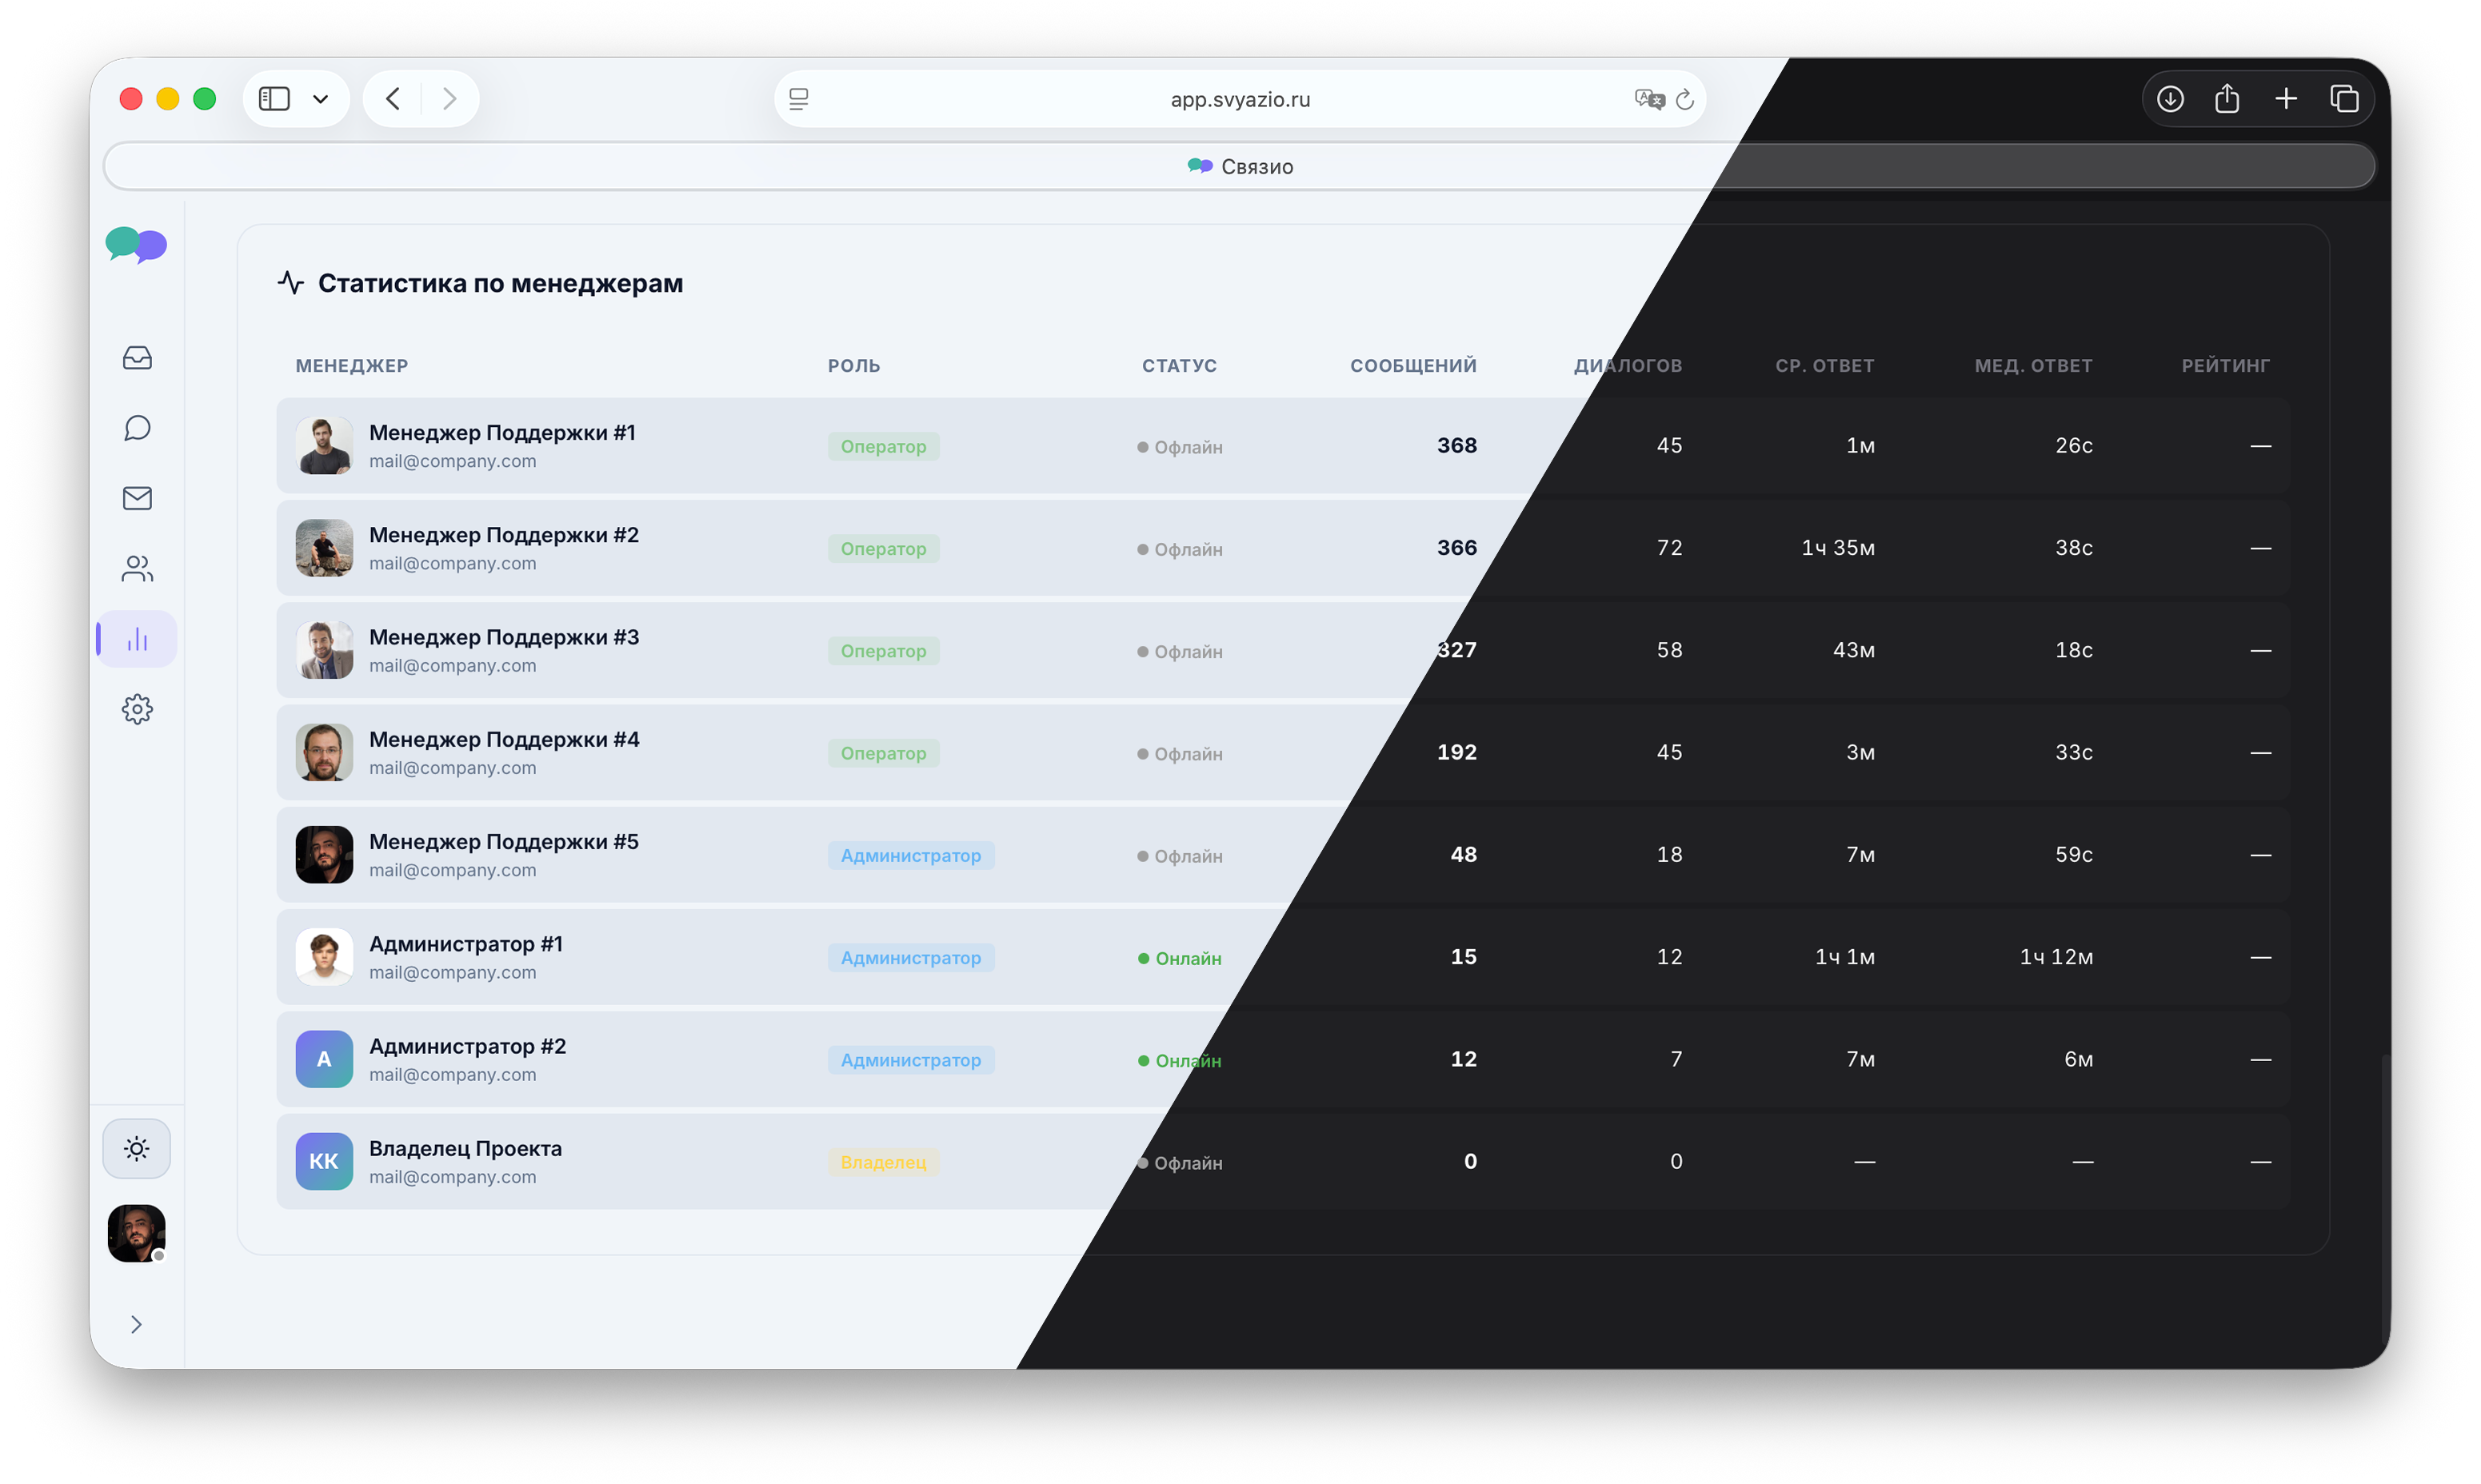
- Invite your team. On Business and Pro plans, you can invite multiple agents. Assign conversations, leave internal notes, and use departments to route chats to the right person.
Pricing overview
Svyazio offers transparent per-agent pricing with no hidden fees:
- Starter (Free): 1 agent, 50 conversations/month — for personal sites and testing
- Business ($19/agent/month): email, saved replies, typing preview, internal notes, up to 10 agents
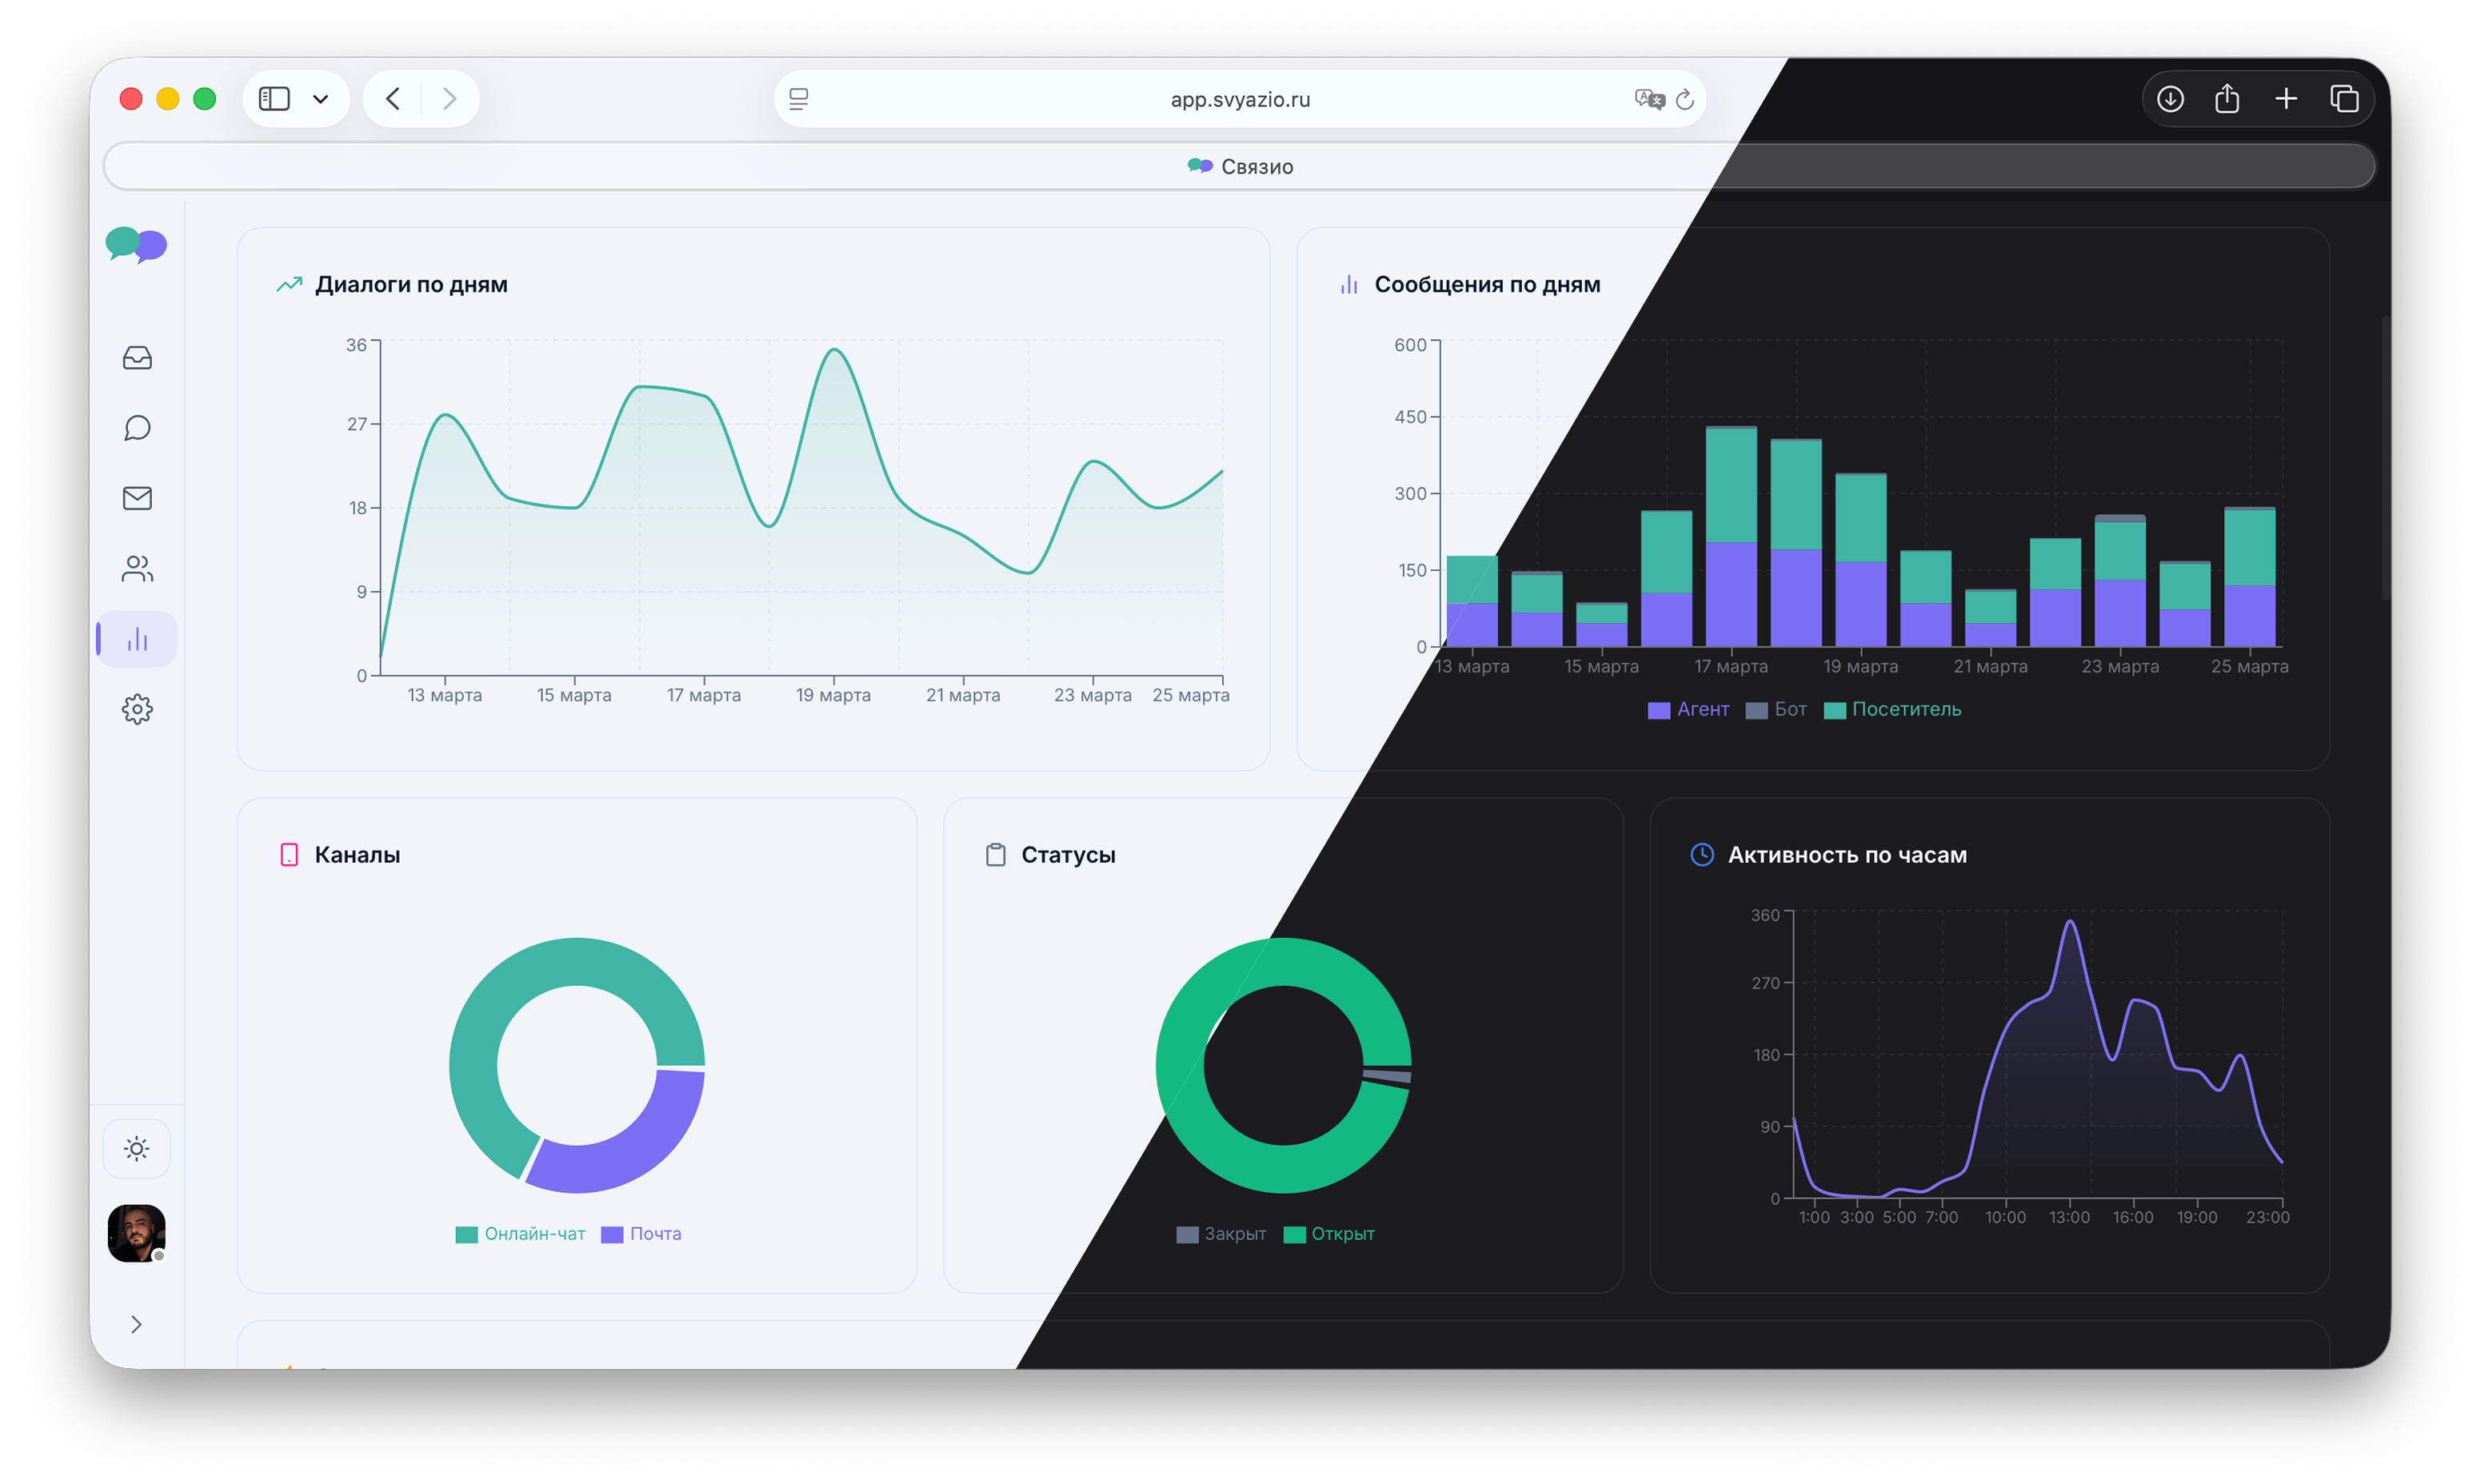
- Pro ($39/agent/month): Telegram, AI assistant, departments, analytics, white-label, unlimited agents
Both paid plans include a 7-day free trial with no credit card required.
Frequently asked questions
defer. It doesn't block page rendering or affect Core Web Vitals. CDN-delivered worldwide.